
This section will teach you the basics of setting up a cineractive for your mission. For our first example, we'll look at the intro cineractive from Mission 2 that happens immediately after loading is complete. You will find the camera paths by opening S02 in the studio.
Looking at the S02 mission in the studio, hit 7 on the keyboard to get to the curves brush and select the curve called intro1. With the intro1 curve selected, scroll to the lower-right area of the map. You should be looking at a very simple camera path near the player's starting location. This is the first shot in the sequence.
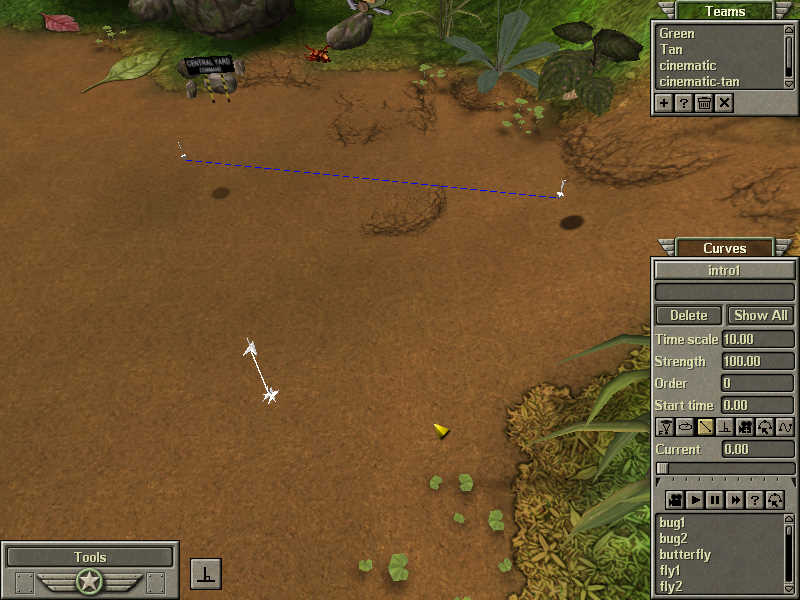
Click on the camera in the bottom row of the curve brush, then click the play button next to it. You should see a 14 second "movie" that starts low to the ground for the first 6 seconds, then pans left over to the 'CENTRAL YARD COMMAND' sign. You'll notice that none of the units are appearing like they are in the mission. We'll get to that.
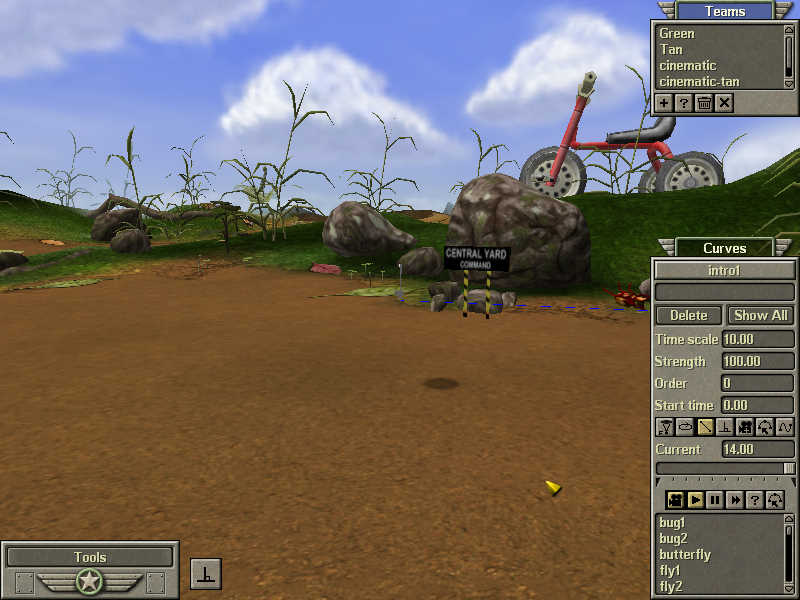
Click the camera button again to get off the camera path and look at it from a side view. You'll see some distinct 3D arrow-like objects with a white line connecting 2 of them, as well as a blue line connect two more. These are the nodes of the path. The white line is for the camera movement and the blue line is for the focal point of the camera. There are actually 3 nodes on this path, 2 of them are sharing a pair of coordinates. Click on the node that is low to the ground with the white line extending up from it. Select and move it in any direction. You will see that there is another node directly underneath it. Press Ctrl + Z to undo the move and get the nodes back on top of each other.
Let's try creating a new camera path, making one right next to the original called new_intro1. First, click on the text entry field just beneath the pulldown list of curves. Type in the new name new_intro1 and hit enter. You will see previous set of nodes disappear. Now you are ready to begin working.
Click on the map terrain and quickly lay down three nodes. This is going to be your camera path. These aren't their final positions, so it doesn't matter where you put them. Just get them on the map.
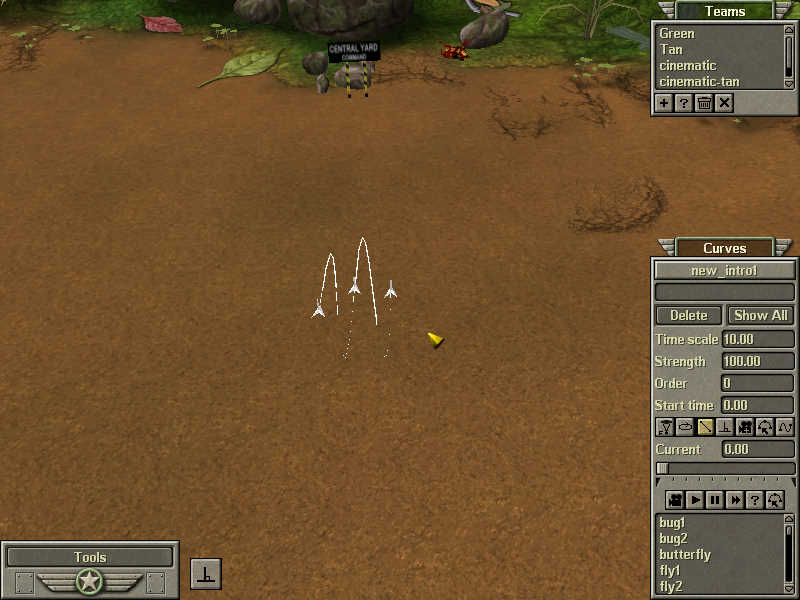
Grab the first node you laid down and drag it to roughly where you want the path to start. If you want to compare to the original curve, then you may select it in the listbox at the bottom of the brush. This will display the curve with some transparency. Keep in mind you will then be able to manipulate the nodes of the original curve, so be mindful you're editing the correct nodes and values.
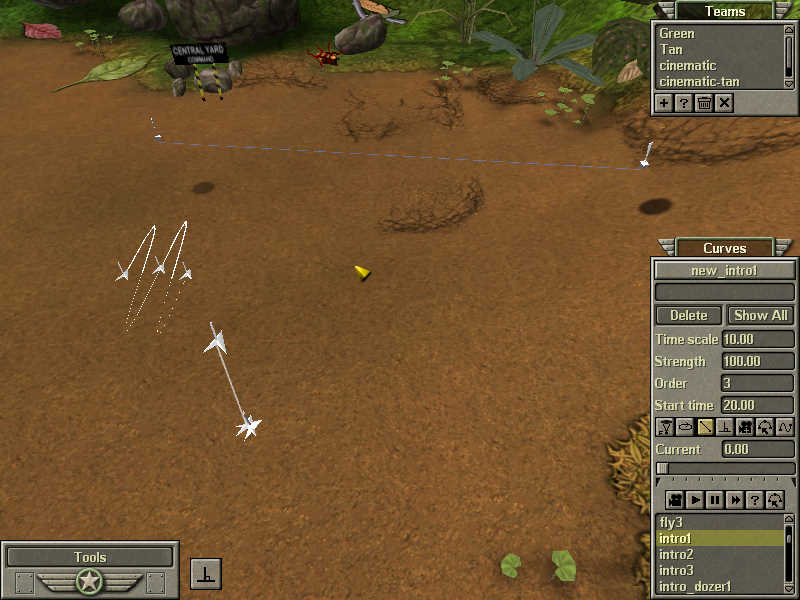
Once you've got the x and y of the first node positioned, hold down the shift key and drag it again to move it up. Nodes are always created directly on the terrain surface, so you want to drag them up at least a little from their starting points to keep them from cutting through the ground. When you're done with that, skip ahead to the 3rd and last node in the path. Ignore the 2nd node for now, we'll deal with that later. Move the 3rd node to a position near the 1st but slightly forward, then hold down shift and drag it straight up so that it will overlook the entire base.
Before you can view what you've got, you must lay down a focal point. In this path, the focal point does not move. All you'll need is one set of coordinates, but you'll need two nodes to denote the start and finish of the path. Click on the first button of the first row. The tool tip will say "Edit focus curve". With this selected, lay down two points in the center of the base, near the water gun. They won't share the same coordinates yet. We'll get to that later. For now, just make sure the first node is where you want it.
Now you need to set the strength and time of each node. We're not actually curving any of the splines, so set the strength on all 5 nodes to 0. You can do this quickly by selecting all 5 nodes at once with a drag box, then typing "0" into the "Strength" box and hitting enter. The times, however, are not all the same. You want the time between the 1st and 2nd camera nodes to be 3 seconds, and the time between the 2nd and 3rd nodes to be 4 seconds. So select the 1st camera node and type 3 into the time field, then select the 2nd node and and type in 4. Don't forget to hit Enter! The 3rd node does not need to be set. Times only set the interval between 2 nodes, so the last node is always irrelevant. The focus path will need to last the same duration as the main path. Since the focus path only has two nodes, this is easy. Simply select the first node and set it's time to 7, which is the total duration of the main path. (3 seconds + 4 seconds.)
Right now, the 2nd nodes on both the camera and focus paths are not in the right places. We want them to share the exact coordinates of the nodes that precede them. First, select the first node in the sequence of the main path. You can tell which it is because the Order field will be "1". Now click on the second button from the right of the first row. The tool tip will say "Edit the position of the selected nodes". This will open a new window next to the brush. You will see the X Y Z coordinates of the selected node, and can edit them as you would strength or time scale. Select the entire number in the field "Z Position" and copy it with Ctrl + C. Now select the second node of the main path. The Z Position should remain selected, but if not, go ahead and select it now. Now you can paste the previous number into the field with the Ctrl + V buttons. Press "Apply", and the selected node should raise itself to the exact height of the first node. Do this for the X and Y coordinates as well, and you'll have successfully copied the exact position of one node to the next.
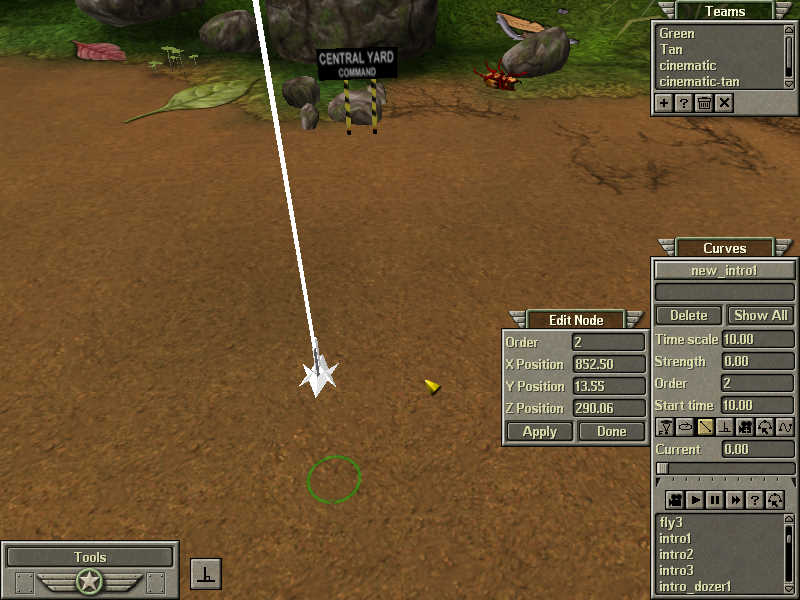
Repeat this process with the two nodes of the focus path, and that will be it. We're done with our new shot, and can view it by pressing the camera button in the second row and pressing the play button next to it. Your shot should start low to the ground and hold for 3 seconds, then it should rise into the air to get a good view of the starting area.
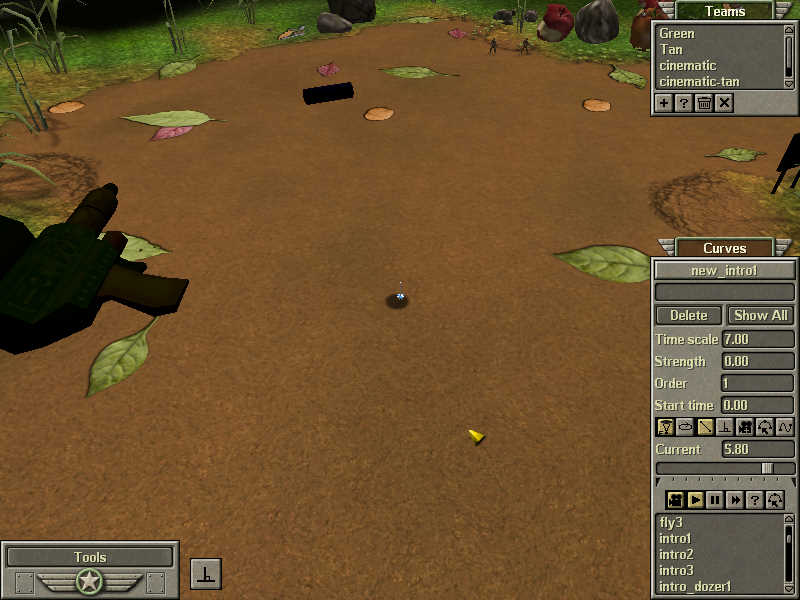
Once you are satisfied and ready to move on, open S03 in the studio. The next shot we'll be looking at uses the path called intro2. Select it from the pulldown list to call it up, then scroll to the lower-right area of the map to find it.
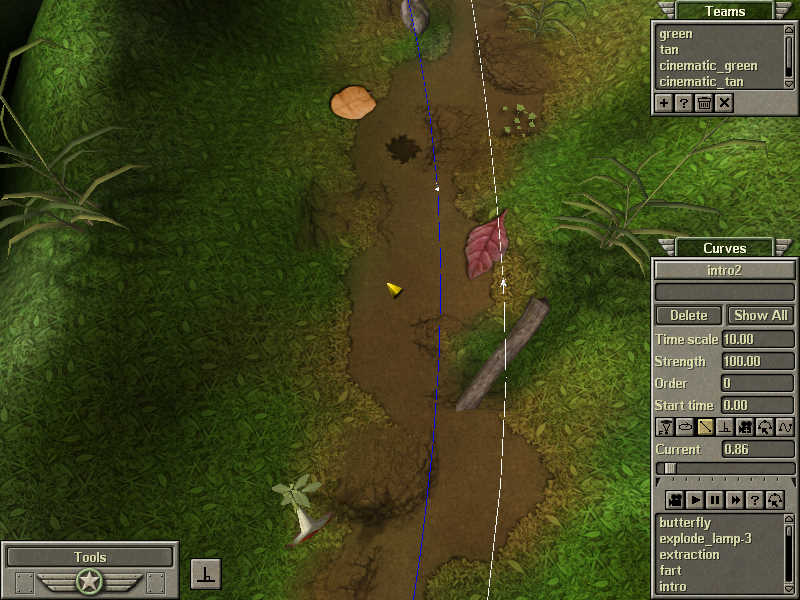
This shot has 6 nodes; 3 for the camera and 3 for the focus. You'll notice that this path uses a lot of curves. These are very important for making your cineractives look good.
The degree to which a line curves between nodes is determined by the strength of both nodes and their rotation. We've covered strength a bit already. Play around with increasing the numbers to see how it affects things. To rotate a node, select it, hold down the alt key, then slide the mouse while holding left click. You can also change the pitch and general orientation of a node by holding down ctrl and doing the same thing.
Strength not only affects the degree to which a curve bends, it also distorts the speed at which the camera or focal point moves. The lower the number, the more the camera/focus will slow down when it is near the node and speed up when it is between nodes. If you raise the strength very high, the camera/focus will speed through the node very quickly. Look at the settings on the existing camera paths to get a feel for how this is done.
To get a feel for the speed at which the camera/focus is going to move, click the fourth button with the tool tip that says "Draw normals". You'll find it in the first row with the "Loop" and "Edit focus curve" buttons. This will divide the interval between each node into tenths and show you how the camera/focus will speed up and decelerate as it moves.
Watch this camera path a couple times to get a feel for how curve strength works. Also notice how the focal point moves smoothly in relation to the camera.
Go to the camera path labeled lamp2. It is near the upper-right of the garden area, near the garden lamp. This is a very simple but effective shot. It has only 2 nodes each for both the camera and focus, and it has both its strengths set to 20. When viewed in the mission, it syncs with the VO to communicate the idea that the garden lamp is very valuable and should be destroyed. Very often, these simple shots are best for communicating what needs to be done in a mission.
Jump over to the path called intro4. It is located in the southeast corner of the map. Again, this is a fairly simple curve that introduces the 5 Bravo Commandos that the player is being given. The only new feature is the blend from camera path to playable in-game view. You will notice in the game that at the end of the cineractive, the letterboxing will disappear and the interface will pop-up, giving the player control of the view. This is done at the start of most missions. It looks great and it draws the player into what's going on. Most of this is done in the scripting section that we will cover next, but it is important to end the curve at a point that will blend smoothly with the default view. For reference, that's the view you get by pressing F3.